
Evaluating the cost-effectiveness of making your own arrows requires considering material costs and the initial investment in equipment. Buying pre-made arrows offers convenience and immediate use without the need for initial crafting skills or tools.
Customizing your arrows by making them yourself can lead to a more tailored experience. By selecting specific components, you can create arrows suited to your unique shooting style and requirements.
Whether making your own arrows is more cost-effective in the long run largely depends on how frequently you use and replace them, as well as the degree of personalization you desire.
Key Takeaways
- Analyzing costs is key to deciding between making or buying arrows.
- Customizing arrows can enhance your archery experience.
- The frequency of arrow usage impacts the overall value of making versus buying.
Understanding Arrow Components
Before you decide whether to buy or make your own arrows, it’s crucial to understand the components that make up an arrow. Each part plays a significant role in the arrow’s performance and affects the overall cost.
Shafts
The shaft is the long spine of the arrow and can be made from various materials such as wood, carbon, or aluminum. The choice of shaft material impacts the arrow’s weight, stiffness (spine), and durability. Carbon shafts provide a great balance between strength and weight and are the choice of many archers, while aluminum offers a more economical alternative.
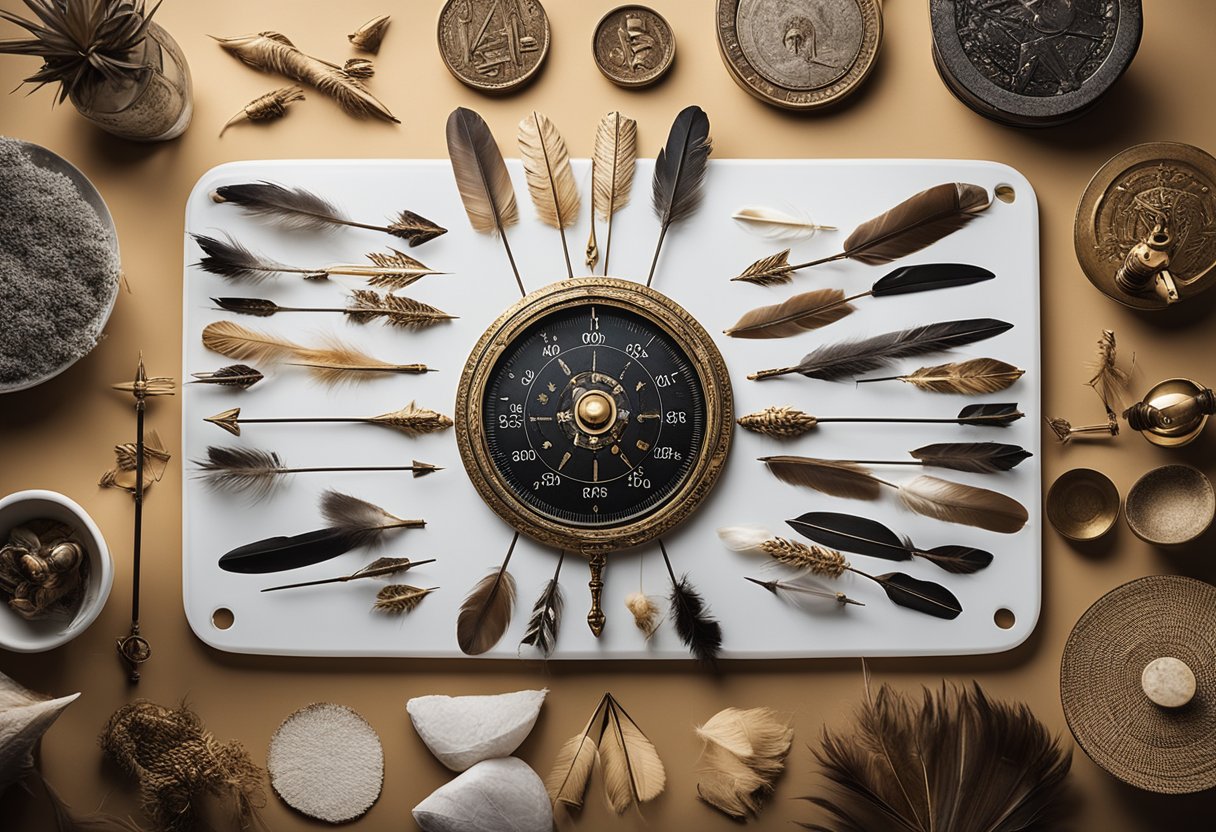
Vanes and Fletching
Vanes and fletching refer to the material attached to the tail end of an arrow shaft that stabilizes the arrow in flight. You have two main options:
- Plastic vanes are more durable and ideal for use with bowhunting arrow rests.
- Natural feathers are lighter and provide more forgiveness when shooting through the air.
Arrowheads and Inserts
Arrowheads, also known as points, and inserts are critical for piercing the target effectively. The arrowhead is attached to the front of the shaft and includes field points for practice and broadheads for hunting. Inserts connect the arrowhead to the shaft securely. Using an epoxy or other strong adhesives is key for a permanent bond.
Wraps and Adhesives
Wraps give a personalized look to your arrows and help with vane adhesion. Adhesives like glue and epoxy are used to bond vanes, nocks, and inserts to the shaft. Ensure to use acetone to clean the shaft before applying arrow wrap for better adhesion and longevity.
When considering making or buying arrows, understanding these components will guide your decisions and potentially save you money in the long run. Each component should be selected based on your specific needs and preferences.
- Shafts: Understand the pros and cons of different shaft materials for optimal performance on the archery range
- Vanes and Fletching: Decide between vanes and feathers to stabilize your arrows effectively
- Arrowheads and Inserts: Learn about the importance of a secure connection between arrowheads and shafts
- Wraps and Adhesives: Customize and ensure longevity of your arrows with the right choice of wraps and adhesives
Cost Analysis of Making Arrows
When you decide to make arrows, understanding the costs involved is crucial. This includes the initial investment in materials and equipment, as well as the value of your time.
Material Costs
The first step in making arrows is to acquire raw shafts, which can be made from different materials like carbon, aluminum, fiberglass, or Port Orford Cedar for wooden shafts.
The cost will vary based on the material chosen:
- Carbon arrows: These are popular for their durability and consistent performance. A dozen carbon shafts can range from $50 to $150, depending on brand and quality.
- Wooden shafts: Ideal for traditional archery, their price can vary widely, with a dozen Port Orford Cedar shafts typically costing between $30 to $60.
- Aluminum arrows: They provide a balance of cost and performance, with a dozen aluminum shafts ranging from $40 to $100.
- Fiberglass arrows: Often the least expensive option, a dozen fiberglass shafts can be found for as little as $20 to $40.
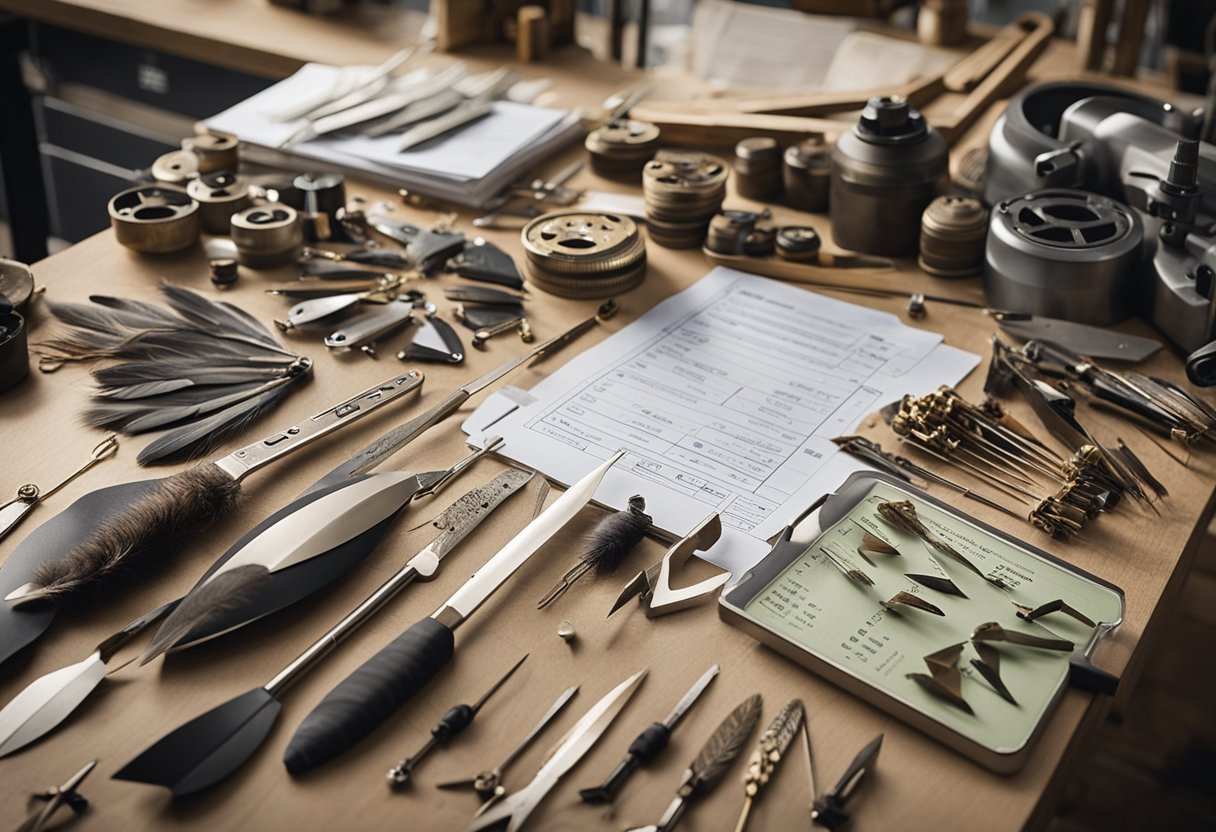
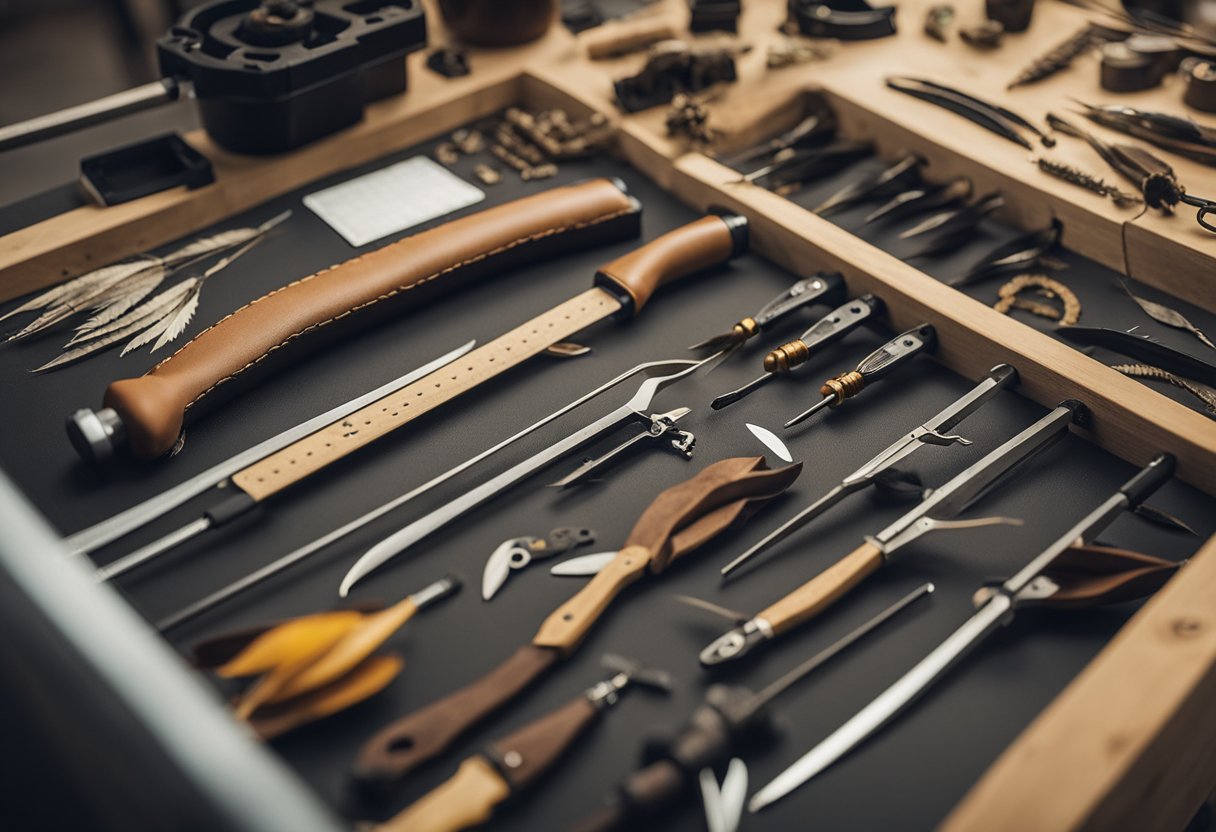
Equipment and Tools
To make arrows, you’ll need specific equipment and tools. Here’s a breakdown of the necessary tools and their general cost:
- Fletching jigs: Essential for attaching vanes or feathers accurately, they can cost between $35 and $100.
- Arrow saw: To cut shafts to the precise length, an arrow saw might cost you around $100 to $200.
- Arrow squaring tool: This tool, which can be around $30 to $60, ensures the ends of the shaft are perfectly square for better fitting of components.
- An initial setup for arrow building might look like the following table:
| Equipment | Cost Range |
|---|---|
| Fletching jigs | $35 – $100 |
| Arrow saw | $100 – $200 |
| Arrow squaring tool | $30 – $60 |
Remember, these are one-time costs that will allow you to build multiple sets of arrows over time.
Time Investment
Your time is valuable, and making arrows requires a substantial investment of it.
Consider the following:
- Preparing and cutting shafts: Depending on your skill level, this can take a few minutes per arrow.
- Fletching: This step takes time and patience, possibly 10-15 minutes per arrow for a beginner.
Estimating the value of your time is a personal calculation; however, keep in mind that as you become more proficient, the time you spend per arrow will decrease. The time commitment can be considerable when starting, but enthusiasts often find the process rewarding beyond the potential savings.
Pros and Cons of Buying Arrows
When you decide to buy arrows, the two main aspects you consider are convenience and performance. This choice influences your archery experience in various ways.
Advantages of Pre-Made Arrows
Pre-made arrows provide a level of convenience and accuracy that can be appealing, especially for those new to archery or bowhunting.
Here are the benefits:
- Consistency: Manufacturers ensure each arrow has uniform specs, crucial for maintaining a consistent flight path.
- Ready to Use: They’re available off the shelf, saving time and effort, allowing for immediate use.
For those interested in bowhunting, buying arrows can mean getting into the field sooner. Many hunters opt for custom arrows which are often pre-made to suit specific needs, providing a balance between personalized specifications and convenience.
Limitations of Purchased Arrows
Despite the benefits, purchased arrows come with limitations that can impact your bowhunting or target shooting experience:
- Cost: Pre-made arrows, especially custom or high-quality options, can be more expensive in the long run.
- Less Tailored: While some customization is possible, they may not match the level of personalization achievable by making your own arrows.
Cost is an important factor; some archers note that expensive carbon arrows are straighter and truer in weight, but for the average shooter, there may be no need for high-end options (Archery Talk Forum). When buying arrows, consider whether the enhanced qualities justify the price, especially if you’re on a budget or new to the sport.
Customization in Arrow Making
In arrow making, the ability to customize your equipment is a significant advantage. You can fine-tune arrows to enhance performance or adjust their appearance to reflect your personal style.
Tailoring Arrow Dynamics
When building arrows, various factors impact their flight dynamics. By selecting the right spine and arrow length, you ensure that the arrows flex properly and recover quickly after leaving the bow. This is crucial for accuracy and consistency in shooting. Additionally, you can adjust the grains per inch (GPI) to alter the weight and stiffness of the shaft. Here’s a quick guide to consider:
| Component | Customization Benefit |
|---|---|
| Arrow Length | Adjust to draw length for optimal flex |
| Spine | Match bow strength for consistent arrow flight |
| Grains per Inch | Tweak weight for desired arrow trajectory |
Experimenting with bare shafts and different arrowheads can also significantly influence how your arrows behave. Whether aiming for deep penetration or a wide cutting diameter, the right choice in arrowheads can make all the difference.
Aesthetics and Personalization
Aside from improving performance, making your own arrows allows for a high level of aesthetics and personalization. Choose from a range of colors and patterns for your feathers to make your arrows easily identifiable and visually appealing. Additionally, custom wraps and unique fletching designs add a personal touch that stands out on the range or in the field.
- Feathers: Select colors and cuts for a distinctive look.
- Wraps: Apply custom graphics or personal branding.
- Fletching: Opt for traditional or modern styles that best suit your shooting preferences.
Remember, the beauty of arrow making is that you’re not restricted to off-the-shelf designs. Every component from the notch to the point can reflect your personal style and shooting requirements, leaving you with a set of arrows that is as unique as it is functional.
Buying vs Making Arrows: Financial Breakdown

When considering whether to buy or make arrows, you need to evaluate the initial costs, recurring expenses, and potential savings.
Initial Costs for Making Arrows:
- Arrow shafts: Various prices depending on material and quality.
- Fletching jigs: Required for attaching vanes or feathers.
- Glue or epoxy: For securing components.
- Arrow saw: To cut shafts to length.
- Arrow spinner and squaring tool: To ensure straightness and proper alignment.
Note that these tools represent a one-time purchase and can be used for multiple arrow-making sessions.
Recurring Costs:
- Fletches, nocks, and inserts: These will need replacing as they wear out or get damaged.
- Glue and epoxy: As they get used up.
Purchasing Arrows:
- Pre-made arrows: Come ready to shoot, with prices varying widely by brand and quality.
- Custom arrows: Often higher priced, reflecting customization and labor.
To provide a direct comparison, here’s a simplified cost breakdown:
| Item | DIY Arrow Costs | Pre-made Arrow Costs |
|---|---|---|
| Basic arrow shafts | $5 – $10 each | Included in pre-made |
| Fletching & adhesives | $1 – $3 per arrow | Included in pre-made |
| Nocks & inserts | $2 per arrow | Included in pre-made |
| Initial tool purchase | $100 – $200 total | N/A |
The upfront investment to make arrows can be substantial due to the required tools. However, once you’ve amassed these, the cost per arrow can decrease, particularly if you produce in larger quantities.
In contrast, to buy arrows, the per-arrow cost is stable, and there’s no need to spend time assembling them. It can be more cost-effective if your shooting volume is low or if you prefer the convenience.
Differentiating between the two options in terms of savings will come down to your volume of use and preference for customization versus convenience. Remember that while savings can be realized by making arrows, the time investment should be valued as well.
Making Arrows: A Step-by-Step Guide
Materials Needed:
- Arrow shafts (wooden, carbon, or aluminum)
- Arrowheads
- Fletchings (feathers or plastic vanes)
- Nocks
- Glue or fletching adhesive
Tools Required:
- Fletching jig: for precise vane attachment
- Arrow saw: for cutting shafts to length
- Measuring tape: for accuracy
Step 1: Shaft Selection and Preparation
Select shafts that are appropriate for your bow’s draw weight and arrow length. If needed, use an arrow saw to cut shafts to your required length.
| Step | Action |
|---|---|
| 1 | Cut shafts to length |
| 2 | Sand the ends for smoothness |
Step 2: Attaching Arrowheads
Securely affix the arrowheads to the shaft by either screwing them in or gluing them. Ensure they are aligned straight to maintain proper arrow flight.
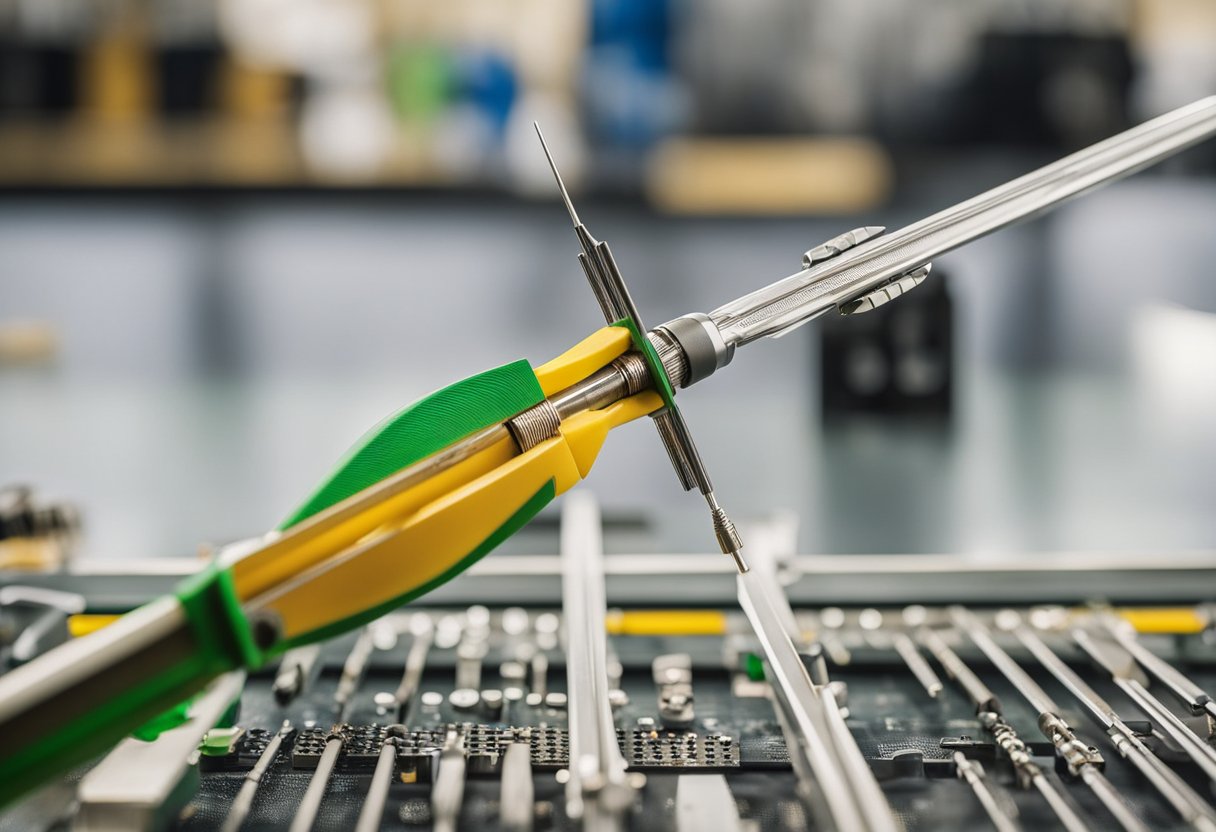
Step 3: Fletching
- Setup: Place the shaft in the fletching jig.
- Gluing: Apply a thin layer of adhesive to the fletching base.
- Attaching: Stick the fletching onto the shaft in the desired configuration (3-vane or 4-vane).
- Drying: Allow the glue to dry as per the manufacturer’s instructions before using the arrow.
Remember: Precision in vane placement affects accuracy.
Step 4: Installing the Nock
Insert the nock at the rear end of the shaft. It should click into place. Ensure it is not too tight or too loose to guarantee reliable arrow release.
Maintenance Tips:
- Regularly check for shaft straightness.
- Inspect fletchings and replace if damaged.
- Ensure arrowheads remain tightly fastened and sharpened.
By following these steps and using the correct equipment, you can efficiently make arrows tailored to your bowhunting needs.
Arrow Durability and Maintenance
When considering the durability and maintenance of arrows, it’s crucial to understand the role that consistent upkeep plays in extending the life of your equipment. Your arrows are subject to wear and tear from use, which can affect their performance and longevity.
Maintenance:
- Regular inspection: Check for cracks and bends in the shafts.
- Nock Replacement: Replace nocks that are damaged to ensure a proper fit on the string.
- Fletching Care: Repair or replace fletches to maintain accuracy.
| Maintenance Task | Description | Frequency |
|---|---|---|
| Shaft Inspection | Examine for straightness and structural integrity. | Before Use |
| Nock Replacement | Change nocks that show wear or do not click onto the string properly. | As Needed |
| Fletch Repair | Replace damaged feathers or vanes. | As Needed |
Durability Factors:
- Material: Carbon, aluminum, and wood each have different durability levels and maintenance needs.
Arrow Wraps:
- Protection: Wraps can shield the shaft from damage.
- Visibility: Brightly colored wraps aid in finding arrows after shots.
- Customization: Facilitate personalization and ease of identification.
Maintenance Tips:
- Store arrows in a quiver or a dry place to prevent warping or other damage.
- Clean shafts regularly to avoid buildup of dirt that can affect arrow flight.
- Use arrow maintenance tools designed for your specific arrow type to ensure effectiveness and safety.
Remember, maintaining your arrows can help preserve their physical integrity and ensure your archery remains both a rewarding and safe experience.
Conclusion
When deciding whether to purchase or construct your arrows, your experience, budget, and archery needs are pivotal factors. Initially, buying pre-made arrows offers convenience and allows you to begin arching immediately without the additional upfront investment in equipment.
If you’re considering costs, building your arrows can be more economical over time. Acquiring the components to craft arrows means you can tailor them to your specific preferences and needs, potentially leading to better performance.
Here are key takeaways:
- The startup cost for DIY arrows includes purchasing tools like a fletcher and materials like shafts and vanes.
- Once equipped, per-arrow costs are often lower than buying pre-made arrows.
- Self-built arrows afford customization that could enhance your archery experience.
On the other hand, the convenience of ready-made arrows can’t be understated for new archers. Choosing this route is immediately practical and postpones the need for a workshop setup.
Consider long-term involvement in archery before investing in equipment for making arrows. If archery is a committed hobby or competitive pursuit, building your arrows might be worth the investment. For a more casual approach or immediate need without the desire to craft, purchasing pre-made arrows is sufficient.
Remember, becoming skilled in fletching takes practice, but it can ultimately provide a cost-effective and personalized approach to your archery equipment.